I've made these cookies a few times now and we love them!
We decided to go almost three full months after officially starting Keto before adding any Keto desserts - we thought it would be best to avoid the potential of a slippery slope back into sugar. I've had some successes and some failures trying to make sugar-free, low carb, treats, but this is a simple, versatile, recipe that seems impossible to mess up. This is also the only Keto dessert we've loved enough to make multiple times. It's a winner and we both find that having one or two really is plenty.
Ingredients:
1 C almond butter (or other nut butter if you prefer - it's very good with peanut butter)
2/3 C powdered Swerve (Erythritol) or your favorite sugar replacement.
2 Tbsp unsweetened cocoa powder
2 Tbsp coconut flour
2 large eggs (Always Organic with the eggs)
1 Tbsp melted butter (I use Kerrygold)
2 Tbsp water
1 1/2 tsp pure vanilla extract
1 tsp baking soda
1/3 C sugar-free dark chocolate baking chips (I use Lilly's)
Instructions:
1. Preheat oven to 350ºF. Line a rimmed baking sheet with a silicone baking mat or parchment paper.
2. In a large mixing bowl (I use my KitchenAid) combine all of the ingredients except for the chocolate chips. Use your stand or hand mixer and mix until all ingredients are combined. The dough is very thick and sticky - this is ok. Fold in the chocolate chips.
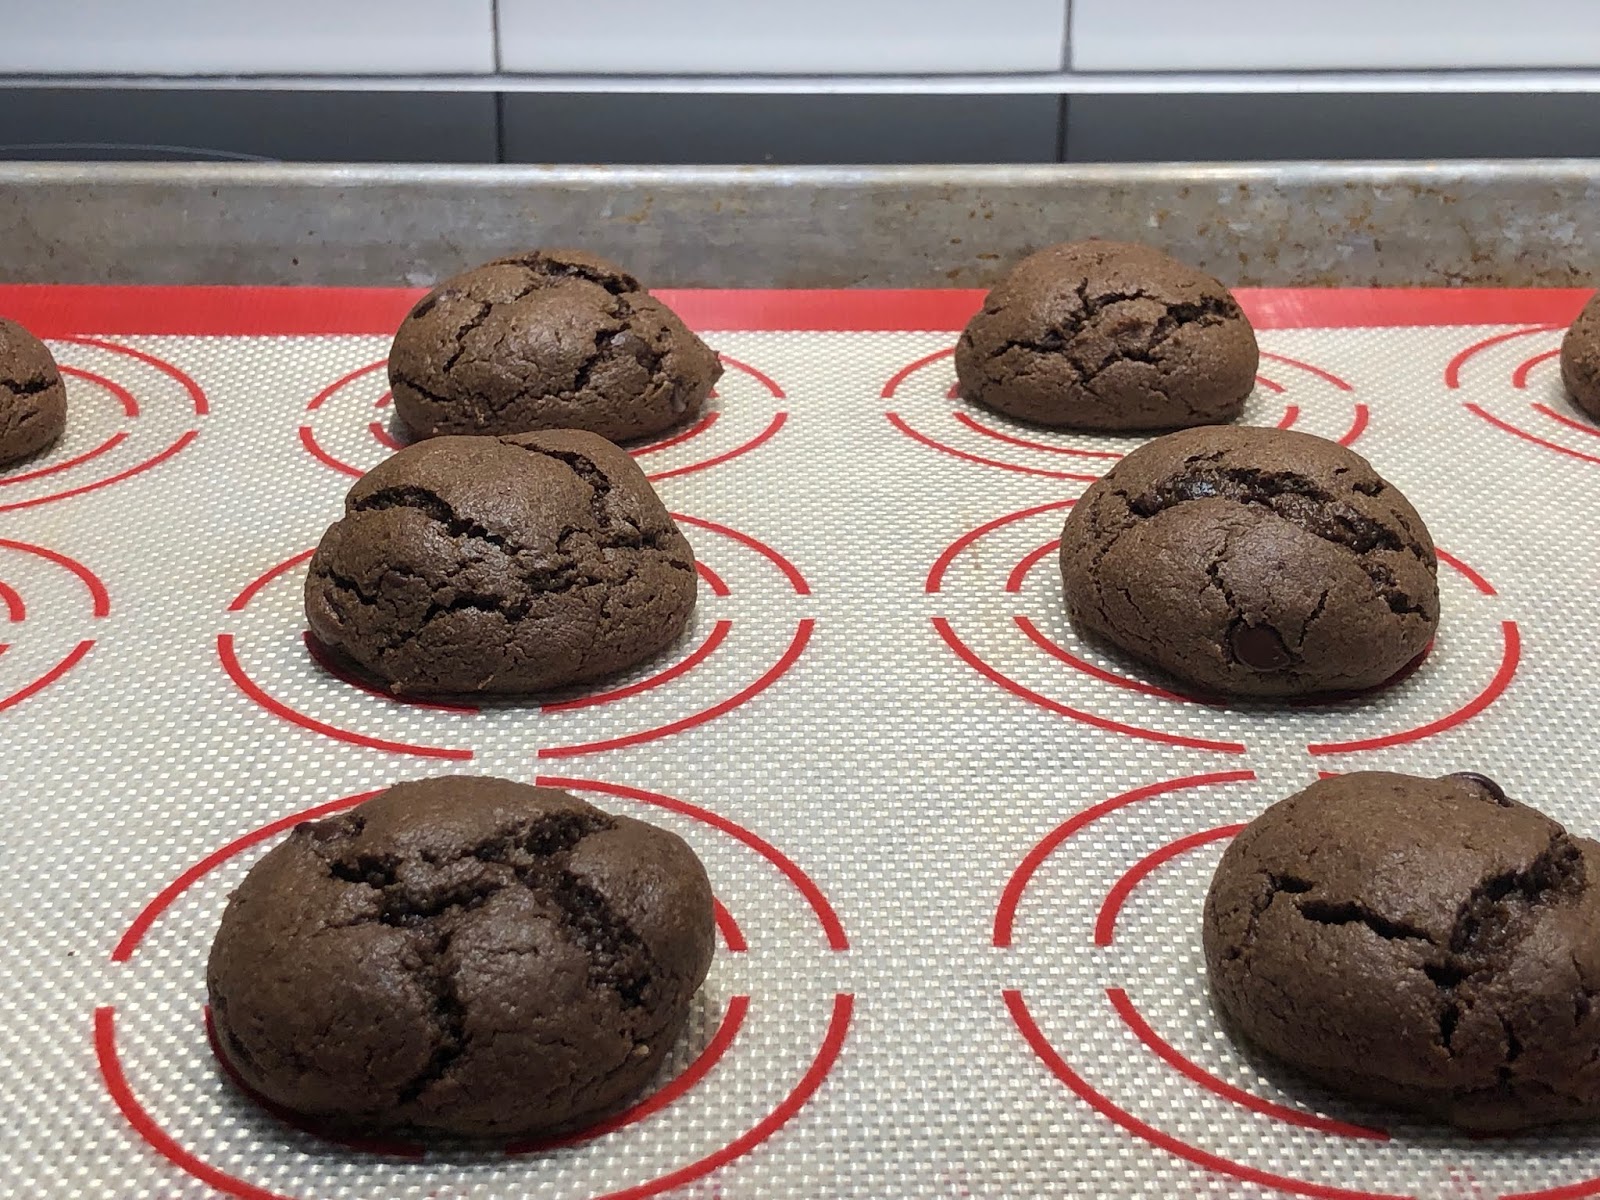
3. Roll the cookies into 1-11/2 balls, this yields about 2 dozen cookies. Obviously you can adjust for size, but I think these are pretty much perfect.
4. Place the the dough balls on the baking sheet and bake for 10 minutes. Remove from the oven, let sit for 1-2 minutes then place them on a cooling rack. Once cool - Enjoy!
Nutrition: *Disclaimer* This is based on my ingredients and 24 cookies. Information obtained by
using the Carb Manager App.
2g Net Carbs
8g Total Carbs
2g Fiber
8g Fat
3g Protein
87 Calories
0 Glycemic Load
Showing posts with label Holiday Baking. Show all posts
5.05.2019
12.21.2017
Lemon Cheesecake Bites
I'm so excited about these cheesecake bites... they're exactly what I needed to get through holiday party season!!
Ingredients:
- 8 ounces cream cheese, softened
- 1/2 cup powdered Swerve or other sugar substitute
- 2 tablespoons coconut cream
- 1 teaspoon vanilla stevia
- pinch salt
- 3 teaspoons lemon extract
- few drops of natural yellow food coloring
- 1/4 cup coconut oil melted
- 1 Lily's dark chocolate bar (3oz)
Directions:
- In a stand mixer blend the cream cheese and Swerve together until smooth.
- Add the coconut cream, stevia, salt and raspberry extract, natural food coloring until combined well.
- Slowly add in the coconut oil and continue to blend on high until it's incorporated.
- Scrape down the edges of the bowl to make sure it's all mixed well.
- Refrigerate this mixture for 1 hour.
- Using a 1 1/4 inch mini cookie scoop (or something similar) scoop the batter onto a parchment lined baking sheet, it should make about 48 balls.
- Freeze these for at least 1 hour.
- When you're ready, break up the Lily's into small pieces and place in a small saucepan over low heat. Stir occasionally until completely melted. Pour over the top of the cheesecake balls.
- Refrigerate for another hour.Keep refrigerated until you're ready to enjoy!
Labels:
Dessert,
Easy,
GF,
Holiday Baking,
Snack,
Sugar Free,
Sweet Treat
12.11.2017
Coconut Chocolate Bites
This is the first sweet treat I have made in a very long time, and the first I had eaten in a month. I made one batch and took half to a party where they were a hit. They were so popular in our house and with our guests I had to make a second batch just 2 days later!
I'm excited to be back and even more excited to share this first of my sugar free, gluten-free recipes!
Ingredients:
1/2 Cup Coconut Butter (or manna)
1/2 Cup Coconut Oil
1/2 Cup Unsweetened Shredded Coconut
2 Tbsp Swerve (either granular or powdered will work fine)
1 Lily's dark chocolate bar (3oz)
Seriously, that's all you need. These are so easy!
Directions:
1. In a small to medium saucepan melt the coconut butter and coconut oil over low heat stirring occasionally, be patient, don't crank it up.
2. While you wait line a mini muffin tin with 24 paper liners.
3. When the oil and butter are melted stir in the Swerve until dissolved.
4. Turn off heat. Add the shredded coconut and stir to incorporate.
5. Pour the coconut mixture into the paper liners, I find that using a measuring tablespoon gives just about the right amount for each cup and is an easy vessel that doesn't make too much of a mess.
6. Put the pan in the freezer for at least 30 minutes (or longer...).
7. Whenever you're ready to continue, break up the Lily's into small pieces and place in a small saucepan over low heat. Stir occasionally until completely melted. Pour over frozen coconut candies*.
*I like to use a teaspoon for this. A half full teaspoon (not measuring spoon, just from the silverware drawer) is about the right amount, the chocolate pours easily off the end of it and you can dab the tip of the spoon into the middle of the poured chocolate to make it spread out evenly.
Let the chocolate harden and enjoy!! These can be stored on the counter for a week or refrigerate or freeze them for long lasting goodness!
I'm excited to be back and even more excited to share this first of my sugar free, gluten-free recipes!
Ingredients:
1/2 Cup Coconut Butter (or manna)
1/2 Cup Coconut Oil
1/2 Cup Unsweetened Shredded Coconut
2 Tbsp Swerve (either granular or powdered will work fine)
1 Lily's dark chocolate bar (3oz)
Seriously, that's all you need. These are so easy!
Directions:
1. In a small to medium saucepan melt the coconut butter and coconut oil over low heat stirring occasionally, be patient, don't crank it up.
2. While you wait line a mini muffin tin with 24 paper liners.
3. When the oil and butter are melted stir in the Swerve until dissolved.
4. Turn off heat. Add the shredded coconut and stir to incorporate.
5. Pour the coconut mixture into the paper liners, I find that using a measuring tablespoon gives just about the right amount for each cup and is an easy vessel that doesn't make too much of a mess.
6. Put the pan in the freezer for at least 30 minutes (or longer...).
*I like to use a teaspoon for this. A half full teaspoon (not measuring spoon, just from the silverware drawer) is about the right amount, the chocolate pours easily off the end of it and you can dab the tip of the spoon into the middle of the poured chocolate to make it spread out evenly.
Let the chocolate harden and enjoy!! These can be stored on the counter for a week or refrigerate or freeze them for long lasting goodness!
Labels:
Dessert,
Easy,
Fat Bomb,
GF,
Holiday Baking,
Sugar Free,
Sweet Treat
12.18.2012
Peppermint Bark
This is my daughters favorite treat around the holidays. It is incredibly easy to make and it's always a crowd pleaser!
3.12.2012
Chocolate Chips Ahoy!
For days I was craving something sweet and I just couldn't quite put my finger on what was going to satisfy. Of course it was sometime around 3am when I realized what it needed to be, and this was it. The picture is bad, but these cookies are awesome! They have great flavor and remain soft yet crisp. It's too bad they're gone, because I could really go for one right about now!
Labels:
Cookies,
Easy,
Holiday Baking,
Sweet Treat,
Vegan,
Vegetarian
12.14.2011
Peanut Butter Oatmeal No Bake Cookies
12.11.2011
Cranberry Walnut Chocolate Chippers
This is a nice simple cookie. They are light and airy right out of the oven and if you can make them last long enough they become crisp outside and stay fairly soft inside. The flavors are understated so even though it sounds like there is a lot going on it this cookie, it works. This would be a fine addition to your holiday cookie collection.
12.05.2011
Pumpkin Chocolate Chip Muffins
As I hurried through the grocery store in the early hours of Thanksgiving morning I accidentally grabbed a can of pumpkin pie mix instead of pumpkin puree. I wasn't quite sure what I was going to do with it, but I wanted to use it up before it got lost in the back of the cupboard. Obviously it was time for some wonderfully moist, tasty, muffins.
Subscribe to:
Posts (Atom)


